
Real build fabrication package
Build your ownDad Drift Kart.
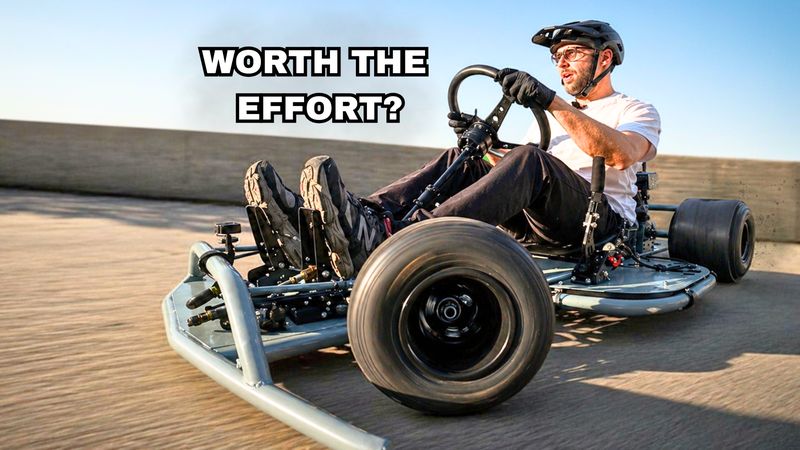
The CAD, drawings and parts list behind my real build. Includes laser and CNC ready parts, jig templates and a fully costed bill of materials. Designed in CAD, built in a garage, revised where the design was wrong, then drift tested.
Price$149 USD
PackageV1.7, BOM V6
FilesSTEP, IGES, OBJ, PDF, XLSX
StatusBuilt and drift tested
UpdatesIncluded, no extra cost
See it built before you buy anything
Every part of this kart was filmed being made, complications included. Watch first. If the build makes sense to you, the package will too.
Read the workshop story: DIY Drift Kart — How I Built It →
Slow Garage TV
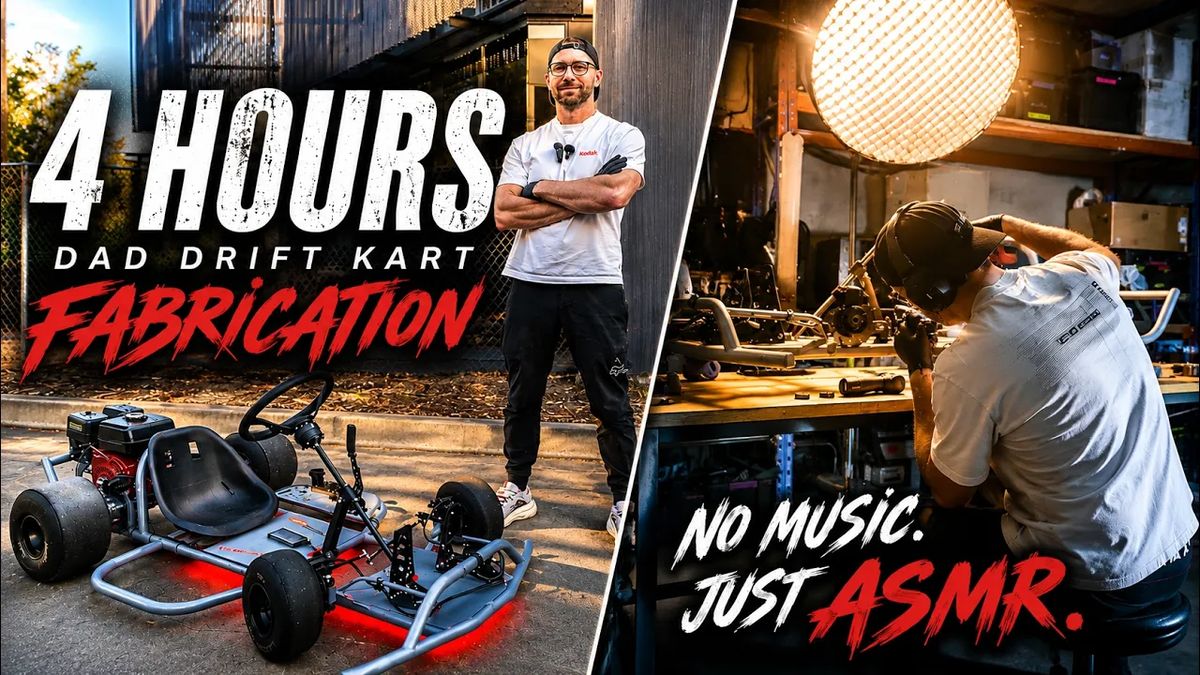
Four hours of it being made
No music, no talking, no cuts to speed things up. Just the workshop and the sound of it. If you want to see every joint before you commit to building one, this is the whole thing.
Seen enough? The files are below.
Dad Drift Kart
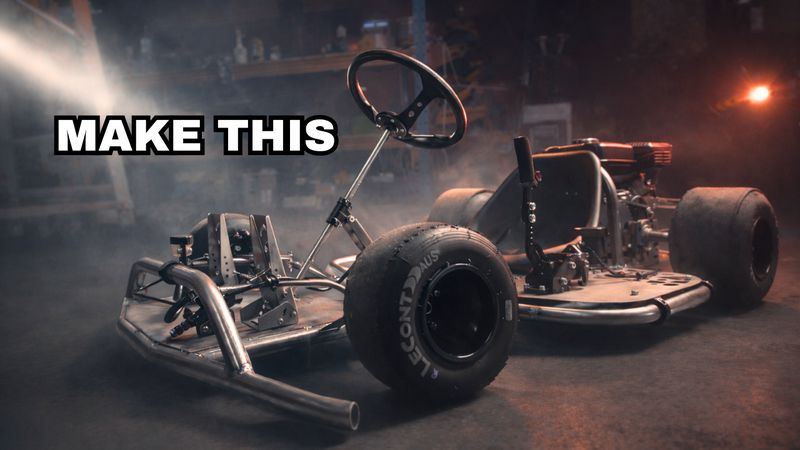
A serious head start, not a kit and not a step by step tutorial. Every dimension in here came off a kart that exists.
US$149USD · one time · instant download
If you have fabrication skills and access to a welder, this saves you weeks of design work and a pile of expensive trial and error.
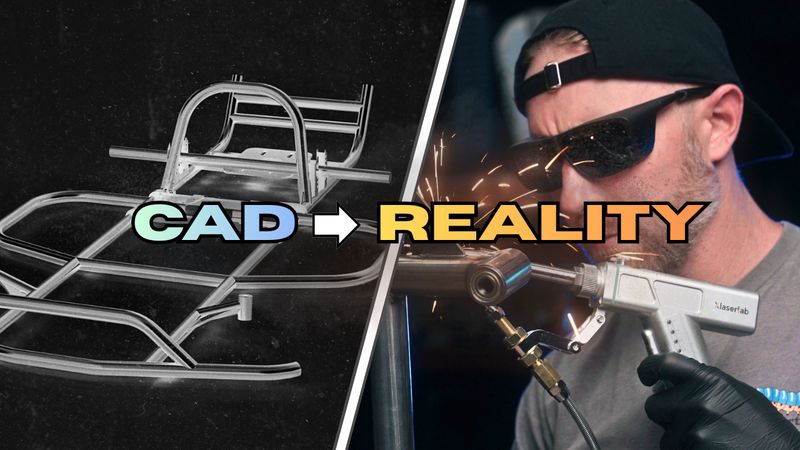
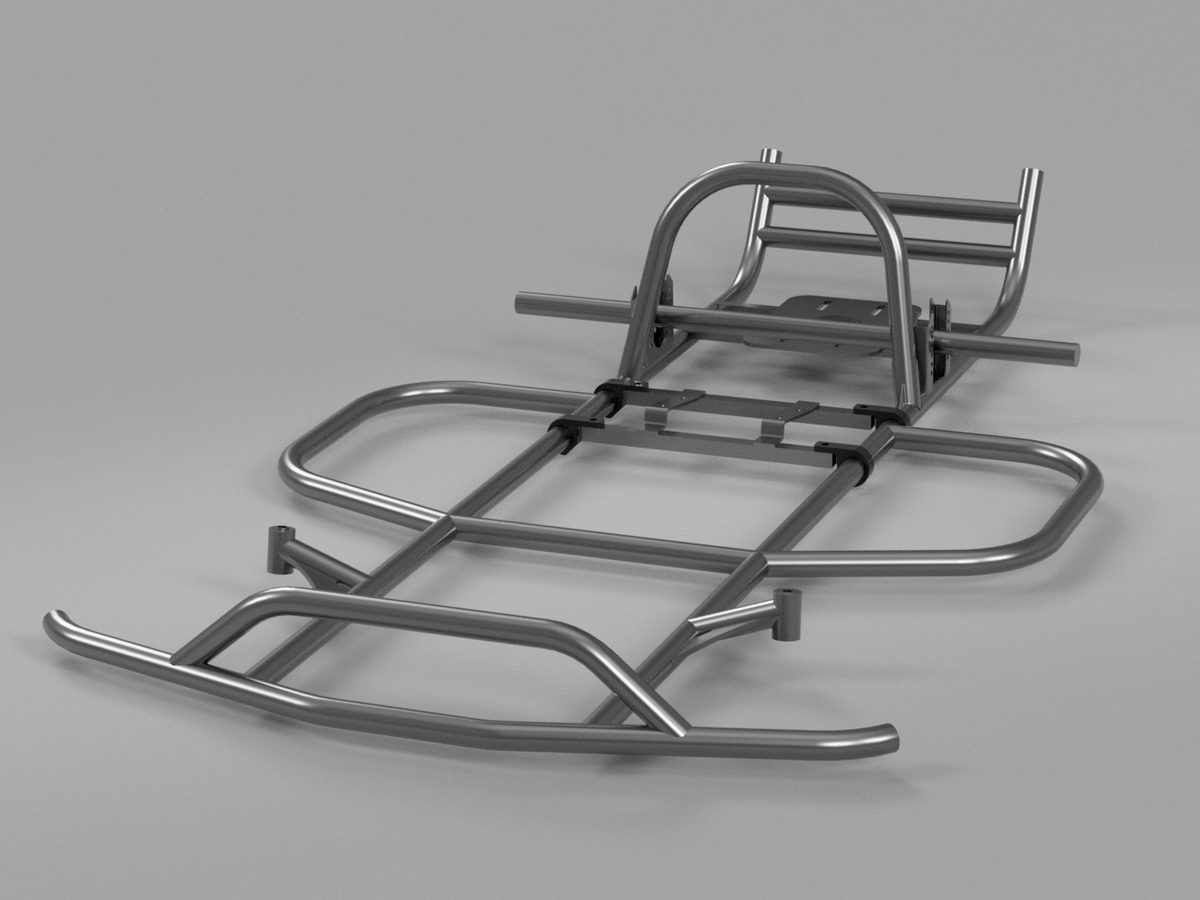
- CADFull kart assembly as STEP, plus IGES and OBJ. Opens in Fusion, Onshape, Inventor, SolidWorks and FreeCAD.
- DrawingsGeneral dimensions and an exploded layout, dimensioned and printable if you would rather work from paper.
- Fab filesAluminium and sheet steel parts separated out, ready to upload straight to a laser or CNC service. No CAD work needed.
- ToolingCoping tool and the jig that holds the front geometry while you tack. The tightest tolerance on the kart.
- BOMEvery part with quantity, specification, cost and a purchase link, grouped by supplier.
- NotesWhich tolerances actually mattered, what caused problems, and what I would do differently.
Digital plans only. Payment and file delivery through Gumroad.
Every part, in place.
This is the actual CAD assembly from the pack, not a render. Drag to orbit, pinch or scroll to zoom, and pull the slider to see how the 229 parts come together.
Loading model
drag to orbit
Model shown is simplified for the web. The pack contains the full resolution STEP, IGES and OBJ assembly.
What it costs to build
Straight off the bill of materials, so you know before you order anything. Rates move, so treat this as a guide rather than a quote.
Parts and materials, buying everything new
USD 2,027
approximately AUD 3,095
- Steel and cut parts$625
- Axle, hubs, wheels$810
- Brakes and steering$280
- Engine and drive$235
- Seat and hardware$80
Category figures are approximate USD amounts and add to $2,030; the listed BOM total is $2,027. Use this as a budgeting guide and confirm supplier quotes before ordering.
The US$149 digital plans are additional: US$2,176 for the listed parts budget plus plans, before freight, consumables, tools and any hired assembly or welding labour.
Laser cut and CNC parts
Around USD 550
Included in the USD 2,027 parts budget above, not an extra charge. The files are ready to upload to a fabrication service.
Engine, axle and wheels
Around AUD 855 new
Or pull them off a used go kart, which is what I did. Mine came out about break even against new, but you get parts you can see running.
Kart specifications
- Wheelbase
- 930 mm
- Length
- 1750 mm
- Width
- 1000 mm
- Frame tube
- 31.8 mm OD, 2.0 mm wall
- Engine
- 6.5 hp petrol
- Drive
- 420 chain, 50 tooth
- Rear axle
- 30 mm
- Sizing
- Adult
Buy on specification, not on the link
The bill of materials was built in Australia, so the purchase links point at Australian suppliers. Most of it is available anywhere.
Sourcing
Every part is specified
Quantity, spec, cost and a link, grouped by supplier. If the link is no use where you live, the specification still is.
Outside Australia
Swap the regional Amazon
The product code after /dp/ usually finds the same item on your own Amazon. Steel and fasteners are better sourced locally regardless.
Fabricated parts
Upload and order
Aluminium hubs, steering knuckles, trays and pedal parts sit in their own folders with drawings. Send them straight to a service.
What you need before you start
Check the tools and experience you’ll need before buying.
Skills and tools
- Basic to intermediate fabrication
- Confident welding, MIG, TIG or laser
- Angle grinder with cut off and grinding wheels
- Suitable tube bender or outsourced tube bending for the original frame geometry
- Drill and hole saws
- Square, clamps and a flat welding table
- Reading dimensioned drawings
Not included
- Step by step instructions. This is a design package, not a manual. You make the fabrication calls.
- Physical parts. Nothing ships, you fabricate or order everything.
- Donor parts. Rear axle assembly, engine and wheels are sourced by you.
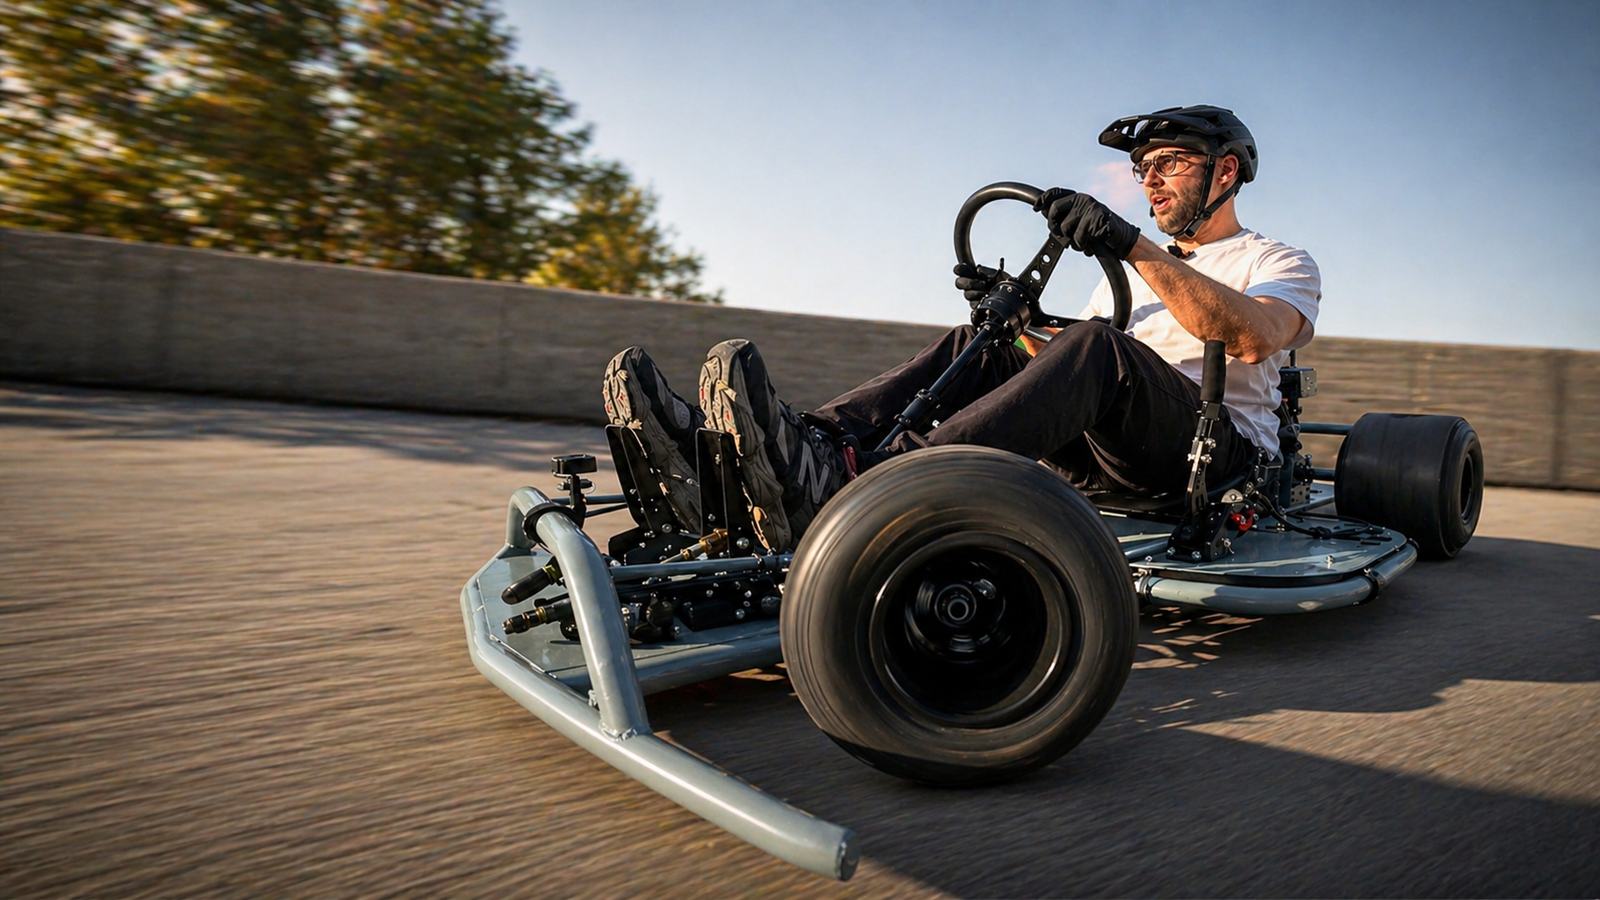
Designed in CAD, built in a garage, drift tested.
Dad Drift Kart, package V1.7Questions
What software do I need to open the CAD?
The assembly is STEP, which opens in Fusion, Onshape, Inventor, SolidWorks and FreeCAD. IGES and OBJ are included for anything that prefers those. If you would rather work from paper, the dimensioned drawings stand on their own.
Do I need a tube bender?
The original frame uses bent tube. To reproduce it, use a suitable tube bender or have a fabrication shop make the bends. Mitred or pie-cut welded alternatives require extra fabrication work and assessment of the joints and geometry; they are not a simple vice-bending substitute. Check the drawings and your fabrication approach before buying.
What welder do you use?
You do not need my tools. The kart was designed around a normal MIG welder, not the gear in the videos. If you can lay a sound weld on 2.0 mm wall tube, you have enough welder.
I am in the US. Can I still source the parts?
Yes. The bill of materials was priced in Australia so the links point at Australian suppliers, but almost nothing in the build is Australia specific. For Amazon items, swap in your regional Amazon and the product code after /dp/ usually finds the same part. Steel, fasteners and the donor kart are all better sourced locally anyway. Every part is described by specification, not just by link, so you can buy the equivalent anywhere.
Metric or imperial?
Metric throughout. Frame tube is 31.8 mm outside diameter with a 2.0 mm wall, rear axle is 30 mm.
Do I need a CNC machine or a laser cutter?
No. Those parts are separated into their own folders with drawings, ready to upload to a fabrication service. Budget around USD 550 for those outsourced parts, included in the parts budget above. You will need welding, cutting and drilling equipment, plus a suitable tube bender or an outsourced bending service for the original frame geometry.
Do I pay again when the design is updated?
No. Revisions to the design, the bill of materials and the notes are included. The update log records what changed.
How long does it take to build?
Depends on your shop and how much time you get. The bends in the frame are the slowest part, especially if you are mitering or pie cutting them rather than using a bender.
Is this suitable for a school or STEM program?
I’m in touch with teachers planning classroom builds. Everything in the package opens in Onshape, which matters if Fusion is locked down on your network, and the dimensioned drawings work for students who are in the workshop rather than in CAD. I work with schools case by case, so if you are planning a class build, email me before you buy and we can talk through what your program needs. Explore the teaching ideas and discuss a class project →
What if I get stuck?
Email me. I built the thing, so I can usually tell you what went wrong from a photo.
Stop redrawing it. Start cutting tube.
The design work is done and tested. Download it and get on with the part you actually enjoy.
Get the files